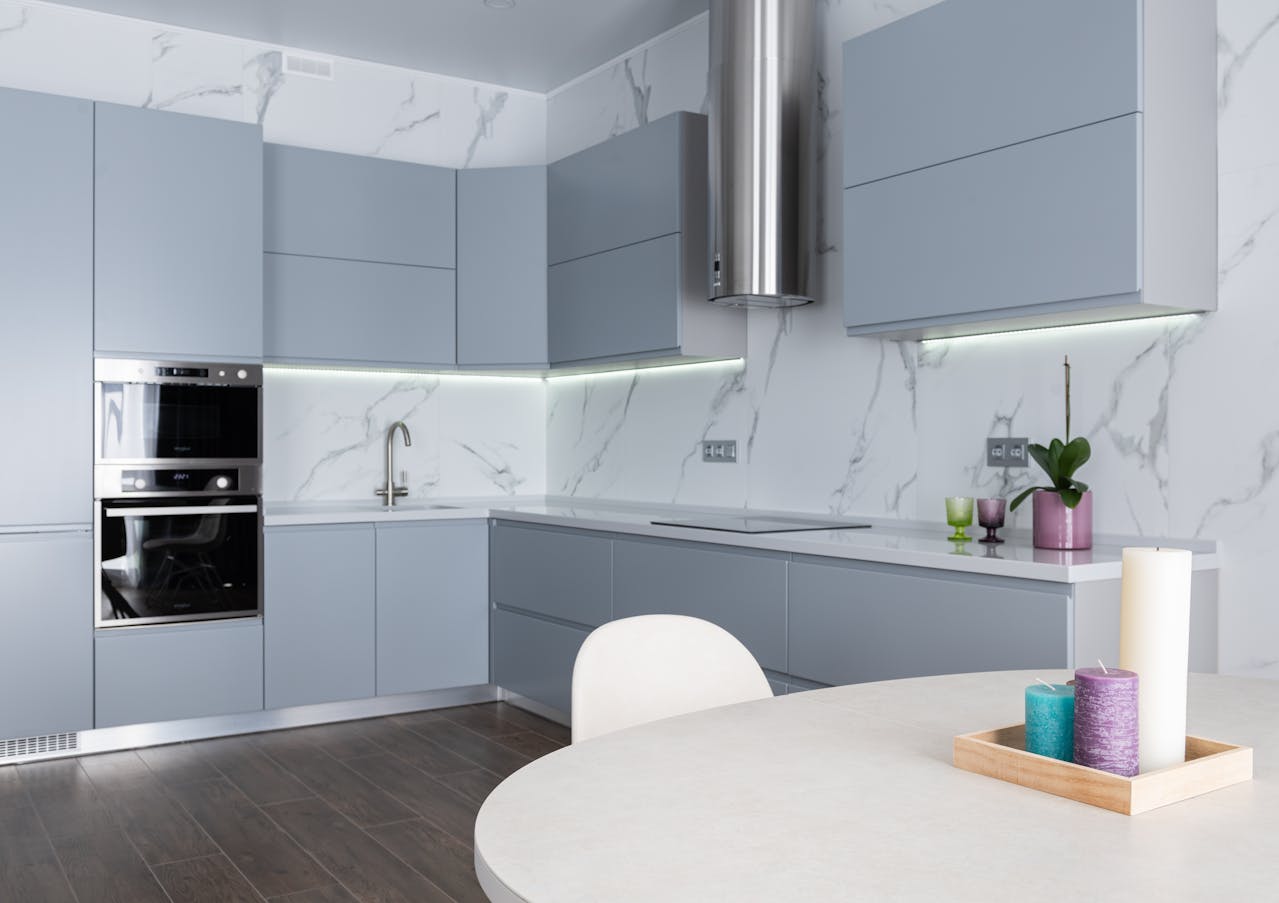
What to Expect During Your Custom Cabinet Installation
A custom cabinet installation can feel dramatic if you don’t know the steps. Below is a simple, realistic walkthrough of what happens from sign-off to final trim—so you feel prepared and in control.
Before Install Day — Final Prep
Confirm measurements & plans: Final templates and drawings are checked.
Choose finishes & hardware: Ensure doors, hinges and handles are confirmed.
Clear the space: Remove dishes, small appliances and fragile items.
Confirm access & parking: Make sure installers can park and bring in materials.
Permits & scheduling: Installer confirms any required permits and final timeline.
Delivery & Staging (Day 1)
Cabinets arrive and are inventoried.
Installers stage components and inspect for transit damage.
Any issues are documented immediately — replacements ordered if needed.
Installation Sequence (Typical 2–6 days)
Day 1–2: Base cabinets set. Base boxes are leveled, screwed together and secured to the wall studs.
Day 2–3: Wall cabinets hung. Wall units are aligned and braced; the installer checks sightlines and reveals.
Day 3–4: Doors, drawers & hardware. Doors are hung, drawers fitted, soft-close mechanisms tested.
Day 4–5: Trim, crown molding & fillers. Final scribing against walls, crown molding, and filler strips for gaps.
Final day: Touch-up paint, final alignment, clean-up and client walkthrough.
(Small kitchens can finish in 2–3 days; complex custom jobs or on-site finishing may take a week or more.)
What Installers Actually Do
Level cabinets on uneven floors using shims — a crucial hidden step.
Fasten cabinets securely to studs and to each other for a seamless look.
Adjust doors and drawer faces for even gaps and smooth operation.
Fit counter tops (if part of the job) and coordinate with countertop templaters.
Install trim and finish details that make the job look complete.
Common Surprises & How to Handle Them
Uneven walls or floors: Expect some scribing and filler work.
Old framing or rot: Repair work may be needed; keep a 10% budget contingency.
Appliance fit issues: Verify appliance specs early—especially for built-in fridges and dishwashers.
Accessory changes: If you add spice pull-outs or integrated trash later, it can add time and cost.
How to Make the Installation Smooth
Approve final drawings and hardware in writing before delivery.
Be available (or name a decision-maker) to approve quick choices on site.
Remove old cabinets beforehand to save labor time and cost.
Coordinate trades (electrician, plumber, countertop templater) to avoid downtime.
Final Walkthrough & Warranty
Your installer should walk you through operation, adjustments and warranty coverage. Check soft-close function, drawer alignment, and exterior finish before signing off.
Ready to book a professional, precise custom cabinet installation? Contact us now to get an exact quote for your Saskatoon home.